What I've been up to lately...

Saturday, March 31, 2012

Funfetti Cake Cups


These little cakes are simple to make.
They are the perfect size for a single serving.
They are low in fat.
And, they cook in 1 minute, literally.

All you need for 4 servings is:
1/2 cup cake mix (funfetti or any other)
2 oz diet orange soda (I know, another soda & cake mix combo...I swear, this is the only thing we use soda for in my house...my kids don't like to drink "fizz", they prefer water...It's true!!!)
4 espresso cups (NOT 4 cups espresso, hee-hee)
Whipped Cream
Sprinkles (if you like)

Mix the cake mix and soda, distribute evenly into the espresso cups.
Microwave for 1 minute (microwave ovens vary, you may need more or less time, they are finished when the cakes rise and look "dry" on top, use the toothpick test to be sure).
Remove from microwave and let cool.
Top with whipped cream and sprinkles, serve immediately!
For a single serving...(say if Mom wants a teeny-tiny dessert after everyone has gone to bed)...
use 2 Tbsp cake mix and 1/2 oz (1Tbsp) diet soda, reduce the microwave time to 30 seconds!
2 out of 2 taste testers approve this recipe, declaring these cake cups to be "Super Duper Great!"


Creatively Living


Partying at:
I Heart Nap Time's Sunday Scoop
It's Overflowing's Overflowing with Creativity
It's Party Time at It's So Very Cheri
Homemaker on A Dime's Creative Bloggers Party Hop
I'm Addicted to Recipes' Scrumptious Sundays
Sleepy Sunday Party at Randee's Organized Chaos
Ask Anna's Weekend Warrior Party
Country Momma Cook's Link and Greet

Friday, March 30, 2012

Guest Posting at Keeping it Simple

Today I am guest posting for Kaysi over at Keeping it Simple.  Kaysi's blog is packed with great ideas, fun and simple crafts, and cool giveaways!  She always has something interesting going on over there!
I will be sharing a tutorial that shows how to make this Springtime Tulip Pillow.
I hope you can stop by and visit me today at Keeping it Simple.
Also, remember to enter my giveaway before April 9th for a chance to win one of my crocheted hats!

Tuesday, March 27, 2012

Treasures on Tuesday

Two new Etsy Treasuries to share with you...
One in PINK...
Lacy Beanie with Flower in Pink, infant sizes Pink Sugared Lemonade Sugary Lip Scrub - Handmade Exfoliating Sugar Lip ScrubVintage Watermelon Pink and White Mosaic Bohemian Antique Brass Earring Drop Dangles
Pink / Ivory Polka Dot Chiffon SCARF ORGANIC hand knitted baby girl set of cardigan and beanie hat. Made from 100% organic cotton yarn -FLOWER-.Pink - 8x10 Fine Art Photograph
And the other in (mostly)BLUE...
A Star is Born...Spiral Stocking Cap for Newborn in Sky Blue Spring 2012, Merserized Triangle  Beige and green Scarf  By Crochetlab, Gift for mom,  Mothers day gift70's chic Natural Summer Straw Hat Ivory / Off White

Beige tulle  tutu skirt with ivory satin waist for  women.Teal Czech Flower Power- Earrings, With Baby Blue Crystals, Filigree Caps and Bronze Petals, Spring Wardrobe, Spring Flowers Recycled paper book garland, spring wedding, easter hearts, beige decor

To enjoy the full treasuries, click  HERE or HERE.


Monday, March 26, 2012

A Simple Pillow Cover Tutorial

Piero Fornasetti Pillow
It is no secret that the easiest way to add a splash of color to a space or to give a room a quick pick-me-up is to bring in some interesting new pillows.
Today I'm going to share with you a method for making a simple pillow cover.
You can create your pillows out of one fabulous fabric...
Or several...
You can add some appliques...
Applique Pillow from Alexandra Ferguson
Or other adornments...
Button Monogram Pillow from Button Betsy
There are so many possibilities, the fun never ends!

On Friday I'll be guest hosting over at Keeping It Simple.  I'll be doing a tutorial for a pillow that uses the simple pillow pattern explained here, but with a funky new twist...so be sure to check it out!

OK, down to business...
What you will need:
a pillow form
1/2 - 1 yard of fabric (depending on the size of your pillow form)
iron
sewing machine
thread
pins

The pillow form I'm using is 20" x 20", but you can use this method for any size pillow form with some easy math.  You will be cutting one piece that is 1 inch larger than your pillow form in both dimensions (mine will be 21" x 21") and 2 pieces that are 1 inch longer than your pillow form in one dimension and half as long plus 2.5 inches in the other (mine will be 21" x 12.5").  If I've lost you in the math, or my explanation of the math, have no fear...here is a chart (I've added some rectangle pillow sizes too!):
Now that you have your 3 pieces cut...
(If your doing anything fancy on the front of the pillow, this is where you would set the 2 smaller pieces aside and do your crafty thing on the larger front piece.)
Finish the flap edge of each rectangle piece (for a square pillow this will be one of the longer sides, for a rectangle pillow it will be a shorter side) by serging, or pressing under 1/4 inch.  Hem this edge.
With right sides facing, pin one rectangle to the front fabric piece with the finished edge toward the center.
Pin the second rectangle piece to the front piece, overlapping the two rectangles across the center of the pillow.
Stitch a 1/2 inch seam around the entire perimeter of the pillow.
Trim each corner.
Finish the seams with a serger or zig zag stitch (I won't tell anyone if you skip this step! {wink}).
Turn right-side-out and stuff with your pillow form.


Start thinking where you could use more pillows...your bedroom, kids room, family room, ohhh...fancy ones for the living room...somebody stop me (please)...

Remember to come visit me on Friday at Keeping It Simple and don't miss your chance to enter my giveaway for a Moose Mouse Creations hat!
Giveaway ends April 9!
Partying at:
Creatively Living's Tell it to Me Tuesday
Tater Tots and Jello's Weekend Wrap Up Party
Stuff and Nonsense's Fridays Unfolded
I Heart Nap Time's Sunday Scoop


My First Giveaway!

It has been almost 3 months since I started blogging regularly and I have been having so much fun!  This little blog has become such a cozy place where I can share my ideas and creations. Not to mention show off photos of my kids and tell stories about their mischievous childhood days.
It has been wonderful to make so many friends who share a passion for creating.  Your thoughtful comments brighten every day.  They inspire me and make me realize that I'm surrounded by a very special community of talented, clever, witty and kind people.

So, to show my appreciation to all of my pioneer followers...the ones who were brave enough to join even when I only had 6 followers and 4 posts,  the ones who invited me to their Linky Parties and left me scurrying off to google "what is a linky party?",  the ones who wandered here by accident, but saw something that made them decide to stay...I am happy to offer my FIRST GIVEAWAY! 
{cheers, confetti, noisemakers}
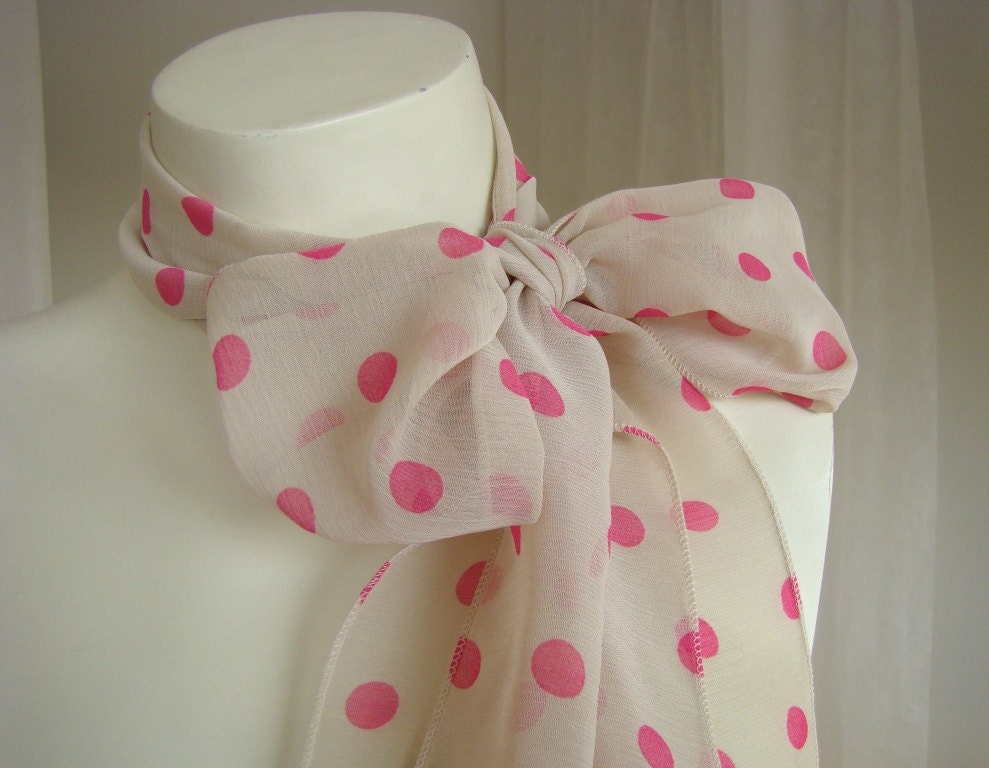
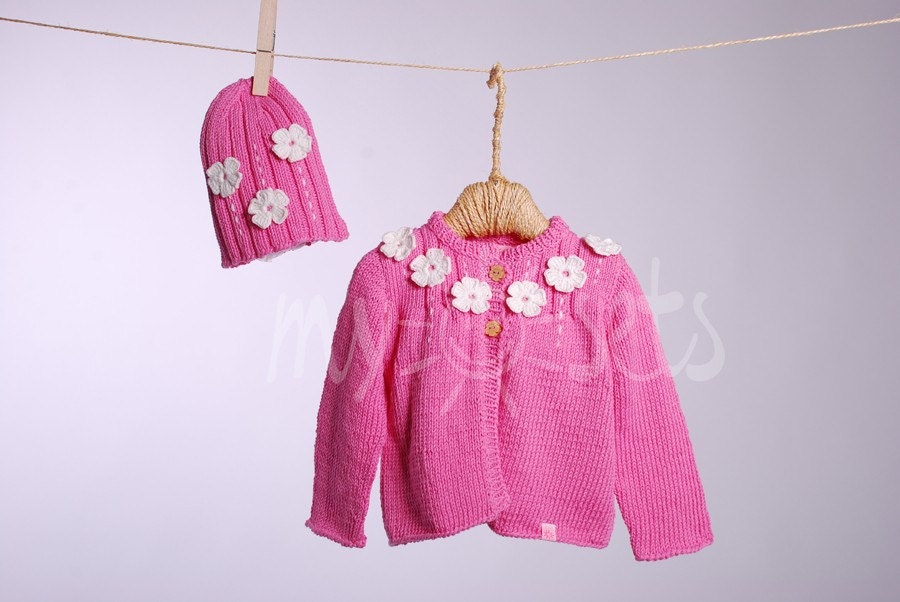
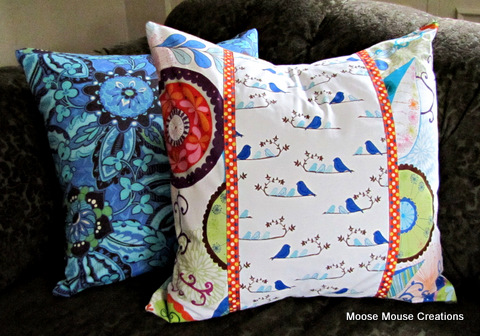
The prize will come directly from my heart and hands.  I will be giving away a hat from my etsy shop 
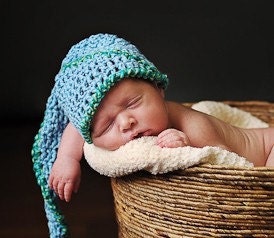
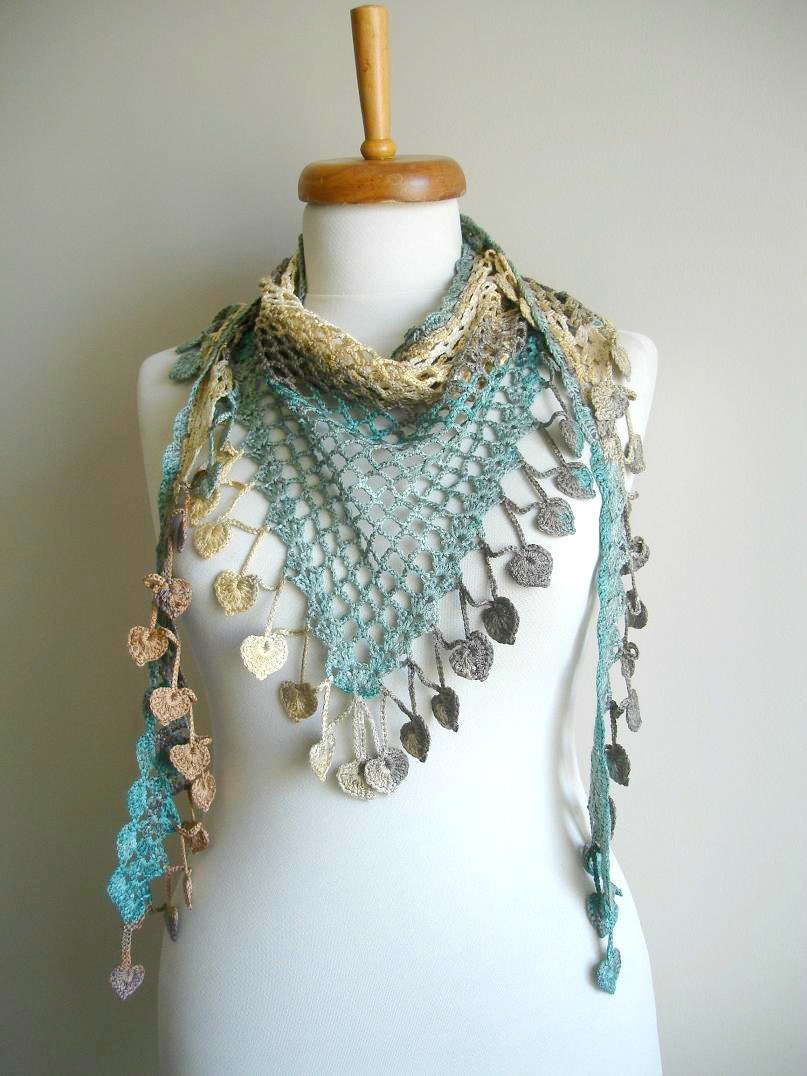
Moose Mouse Creations.  The lucky winner will get to choose which hat she would like to receive, and I will custom make it, with love and care, just for her!
Have you been to my etsy shop?
I make boutique quality crocheted hats for newborns, toddlers, children, teens and ladies in a variety of trendy styles.  All of my hats are hand crocheted, by me, as they are ordered, so size and colors are always personalized.

To enter the giveaway:

1.Visit my etsy shop and leave a comment here telling me which hat you would like to win.(one entry)
2. Follow Moose Mouse Creations via GFC or Linky and leave a comment here to let me know you've joined or you're already following.(one entry...and a million thanks♥)
3. Like MMC on Facebook and leave a comment here to let me know that you did.(one entry)
4. Follow me on Pinterest and leave a comment here to let me know that you did.(one entry)


This gives you up to 4 chances to enter!  The more entries you complete, the better your odds of winning!
This giveaway will be open for two weeks.  The winner will be selected at random from the comment pool by Random.org on Monday, April 9 at 9pm (on my 3 month blogiversary!).

Good Luck!
Related Posts Plugin for WordPress, Blogger...