What I've been up to lately...

Tuesday, November 26, 2013

Pattern Testing: Wee Muses' Prairie Rose

I had the absolute pleasure of testing the Prairie Rose pattern for Anneliese at Wee Muses Patterns. You may also know Anneliese from her blog Aesthetic Nest where she sews, crochets, cooks and entertains and shares beautiful photos of her adorable girls.  Or you may have seen one of her two Etsy shops Aesthetic Nest or Wee Muses,  in which she sells her sewing and crochet patterns and some fun printables.
The Prairie Rose Pattern includes a dress, top, skirt and pants that all feature over-sized ruffles reminiscent of southwestern, prairie style clothing.  I chose to sew the top and pants and was thrilled with how they turned out.
The pattern was easy to follow and the instructions were clear.  The construction of the pieces was cleverly simple.  I especially love how the ruffles on the blouse were created.  The pattern has tons of photos to guide you along.
This was the first Wee Muses pattern I have tried, and I am eager to sew some more!
I sewed this outfit for my sweet niece Julianna.
She jumped up and down and began dancing at the sight of the clothes...definitely a sign that she liked them!
I used a bold flower print for the top and a coordinating polka-dot for the pants.
I trimmed all of the ruffles with teeny-tiny turquoise pom-poms.  I also created a matching headband with the leftover fabric and trim.
When Julianna tried the outfit on, she wouldn't stop twirling around.
It is wonderful to sew for someone who loves and treasures the clothes!
I'm starting to think about ruffled Prairie Rose Christmas dresses.....hmmm.....are you?
This week Anneliese is offering a 20% off in either of her shops when you use the code  THANKS20 at check out!  The Prairie Rose pattern launches this week, so you can grab it with the discount!


Beaded Christmas Tree Hat with a Jingle Bell on Top

I've been hard at work on my latest crochet pattern.  And I'm happy to say that it's finally ready and in my Etsy shop!
It is the festive Beaded Christmas Tree Hat and it is as fun to crochet as it is to wear!
 My little ones have been wearing theirs around and singing Jingle Bells.  They bob their heads so the jingle bell on top plays in rhythm with the song!
The pattern has instructions for sizes from preemie/doll all the way up to adult, so everyone can have one.
They would make terrific props for a unique holiday portrait or Christmas card...
They are perfect to sell at a craft fair or bazaar...
And they would make a special gift for anyone who appreciates lovingly-crafted, handmade goodies.
I even think they work as cheerful holiday decor when they're not being worn!
The pattern is clear and easy to follow for a confident beginner to intermediate level crocheter.  The beads are crocheted right on as you go, rather than sewn on later.  And, I have included a photo tutorial of the textured stitch and the beading technique!  The pattern is now available in my etsy shop, just click here.


Monday, November 18, 2013

The Intersection Tee

This tutorial was originally a guest post that I did over at Twin Dragonfly Designs during One for the boys: T-shirt Week, but I think it's a fun project and worth repeating here...

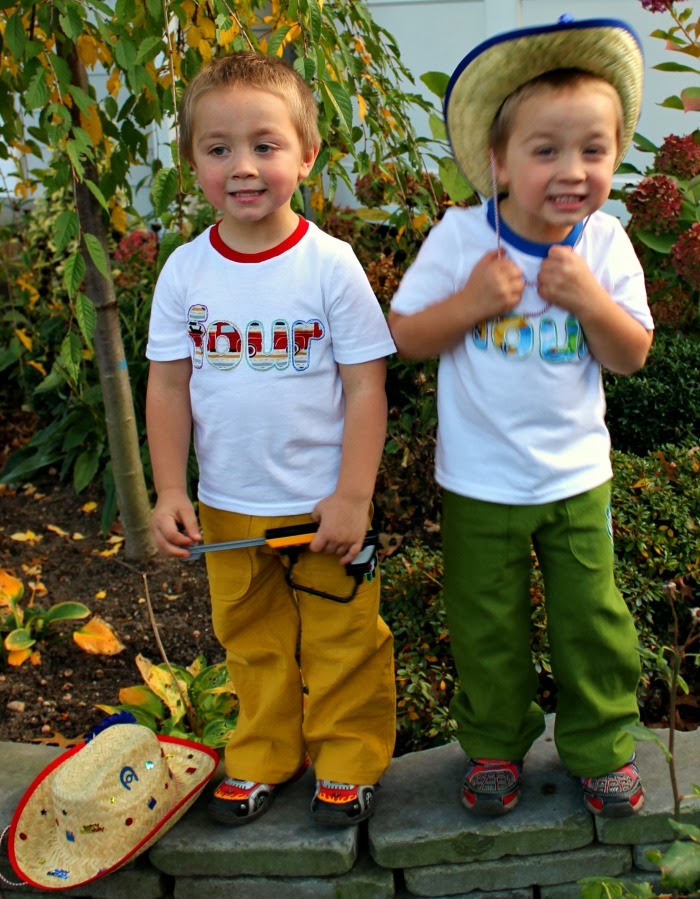
My little guys spend 90% of their lives in T-shirts, so I love to find fun ways to embellish and customize them.
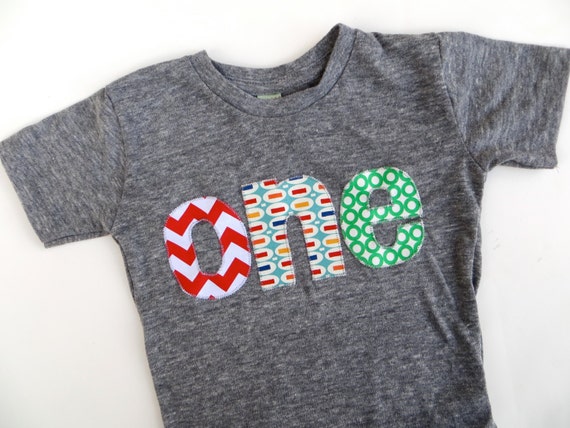
The tutorial I'm sharing today uses something a little unexpected to turn a plain white Tee into wearable textile art...Plastic Lanyard!  
You can buy the lanyard at any craft store.  It can be flat or shaped like a tube and is usually used for making bracelets or key chains.  Today I'm going to show you how easy it is to use the lanyard to make:
You will need a T-shirt, approx. 1 1/2 yards of lanyard in your choice of colors, a washable/disappearing marking pen or chalk, sewing machine, thread and an adorable little boy to wear the finished shirt!
Wash and dry your T-shirt to preshrink it. (I know it's a drag, but take the time now so that the shirt doesn't shrink after you've sewn the lanyard on - that would REALLY be a drag!!!)
Draw out your design on the Tee.
I used a ruler to make three straight, evenly spaced lines vertically and horizontally.
Be sure you use a marking device that will wash out or fade away especially if you're using any transparent lanyard.
Decide where you want each color and cut a piece of lanyard slightly longer than each line you've drawn.
Line up your drawn line and the lanyard under the presser foot of your sewing machine.
Stitch the lanyard in place using your hand to keep it lined up.
I used two different zig-zag stitches to sew the lanyard in place.  For the first inch or so, I used a broken zig-zag so that the needle would actually go through the lanyard, anchoring it to the shirt.  Then I switched over to a regular zig-zag stitch, sewing around the lanyard rather than through it for most of it's length.  Then, I switched back to the broken zig-zag to anchor the other end.
If you are lucky enough to own one, you can use a specialized couching foot to attach the lanyard (these feet go by all sorts of names: couching, cording, piping, braiding, etc.)...but a standard presser foot and a bit of patience will give the same results (I used  my "monogram" foot because I love that is clear in the center and lets me see where I'm sewing).
While you sew, be sure not to stretch the T-shirt or the lanyard, that would result in a roller coaster of hills and valleys instead of a smooth finish.
Continue to stitch each piece of lanyard down over the lines.
After all of the lanyard pieces are in place, trim the ends as close as you can to the stitches.
Viola!  The Intersection Tee!
You can safely wash the tee in a cold temp wash and machine dry on medium (I tested it!).
I love the way the lanyard looks with the stitching around it, 
but I especially love the texture...notice my little Zander feeling the stripes in the center photo!
I hope this inspires you to create a super cool T-shirt and to think a little outside of the box with your craft materials!

Thursday, November 14, 2013

Turning Four: A Pair of Birthday Outfits

Avery and Zander just turned 4!
Their birthday outfits were 100% Mommy-made.
But, before I talk about the clothes, let's talk about the photos.  As you may know, four-year-olds can be a whirlwind of fleeting emotions.  It is staggering how quickly they can go from happy to sad to seeming possessed.
Put two of them together and stand back.
These photos are a testament to the unstable emotional states that can be seen over any given fifteen minute time frame in the course of our daily lives.  I hope you enjoy their mixed-up, fast-paced, occasionally blurry, swirl of 4 year-old temperament at it's best...(and worst, wink!)
Now, the clothes...
the shirts were inspired by this one from charlieandsarah on etsy
one chevron, pez, green circles 1st Birthday T Shirt  triblend grey first Birthday Shirt
but I decided, instead of dealing with finishing edges around all of the letters, that I would put the woven fabric behind the knit and make the letters as cut outs.
Since the knit doesn't unravel, you don't have to finish the edges (your raw woven edges will be inside the shirt and neat knit edges will be on the shirt front).  I think "ambitious laziness" is a good term to describe my sewing habits...
Anyway, I used all of my time saved from not finishing the edges to hand embroider around all of the letters (while watching Project Runway...) before cutting them out.  A really quick and dirty way to make this shirt would be to put the woven fabric behind the knit, machine stitch the letters, and then cut out the knit inside the stitching.
I used Dana's Free Basic Tee pattern for the shirt.  The only change that I made to the pattern was to use a block of the woven cotton print on the lower portion of the back.
I was concerned that the cotton wouldn't have enough give for the shirt to fit well, but it actually still fit great.
Guess who's pattern I used for the pants?
That's right, Dana Made It!  She's amazing (have I said that before?) both for making and especially for sharing her fabulous patterns and tutorials!
These are the Kids Pants with a flat front, pockets and back pockets.
I embroidered the boys' first initials on the back pockets and ironed an irresistible little panda bear "4" patch on the front pockets.
For some reason, even though the fabrics were the same linen from the same manufacturer, the yellow was soft and the green was itchy, even after washing twice.  So, I lined the itchy green with a soft knit cotton for my little, eczematous Zander...problem solved!
And Avery's out...
Zander still has a few poses left...
Related Posts Plugin for WordPress, Blogger...