What I've been up to lately...

Monday, April 8, 2013

Tax Wreath and Paper Rose Tutorial

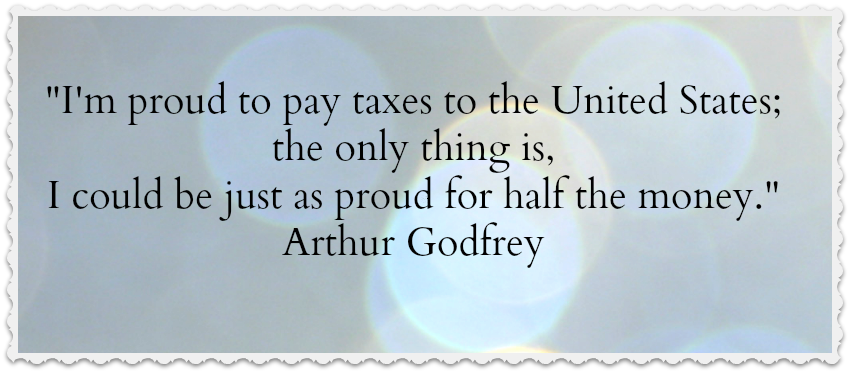
Well, it's April...and that means it's income tax time again!
For many of us, April 15th looks like this:
But for those who prepare our tax returns, April 15th looks like this:
My Mom is among those jumping for joy on the 15th.  As a tax preparer, she is tremendously busy from January through mid-April.  (Don't get me wrong, she's really busy from April through December too!)
This year I wanted to give my Mom something to help keep her inspired and keep her smiling through those long busy weeks.
A pretty paper wreath for her office would be great...
but, a pretty paper wreath made from tax forms, perfect!
I followed this tutorial at Frog Prince Paperie to construct the wreath.
Then I made a paper rose for the center.
Here is how to make a paper rose...
What you need:  paper, scissor, pencil, hot glue gun
Start by tracing a circle onto a piece of paper.
Draw a spiral inside of your circle (don't worry, it doesn't have to be perfect).  Start at the outer edge, and finish by leaving a circle shape in the middle.
Cut out the outer circle.
Cut along the spiral (don't cut off the center circle, you'll need it to form the rose).
Starting at the outer edge of the spiral, roll the paper into a tight cylinder and then continue rolling until you get to the middle.
If you want a more modern rose, you can stop here and glue as shown below.  Your rose will look something like this:
If you want a more traditional looking rose, grab your scissors and cut some waves on the outer band of your spiral.  (You can cut the waves before you roll the rose up if you like, but I think rolling first gives you a good idea of what size waves to cut and where to stop because you don't have to cut the waves all the way to the center.)
Roll your rose back up and grab your glue gun.
Make a puddle of glue at the center of the circle (where I put an "x").
Lean the rose over, plop it into the glue and let go.
The rose will unravel a bit to reveal it's beautiful shape!
Very simple.  Slightly addictive.  Fun with the kids too...my 9 year old son and 10 year old niece made a pile of roses!  (Safety note:  I glued them!)
Happy tax day!
linked up at:  love grows wild, someday crafts, fireflies and jellybeans, made in a day, gingerly made, the busy bee, house of hepworths, whipperberry, nap time crafters, five days five ways, little inspiration, too much time on my hands, it's overflowing, tater tots and jello, i heart nap time, it's so very cheri, lamb around, keeping it simple, homemaker on a dime, uncommon designs, creatively living, love grows wild, adventures of a diy mom, salt tree, skip to my lou, fluster buster, sew much ado, twin dragonfly designs, girl. inspired

Friday, April 5, 2013

Ultimate Blog Party 2013

Welcome to Moose Mouse Creations!

Hi! I'm Carolyn and I'm so glad you've dropped by.

I am Mommy to 4 busy little boys.  Zack is 9, Rowan is 6 and Avery and Zander are 3 year old twins.  I have the good fortune of being married to my high school sweetheart for almost 18 years now.
I have been crocheting, sewing and crafting my whole life...I have my Mom to thank for that!  In 2008 I opened my Etsy shop, Moose Mouse Creations featuring my original crocheted designs, mostly hats.  I also love baking, cake decorating, doing projects with my kids, and attempting to capture my family in photographs.
I started this blog to keep a journal of my never ending (and sometimes never completed) projects and to chronicle my family's creative, chaotic life.
The name "Moose Mouse" comes from an imaginary friend that lived in our home when Zack was 2 years old.  The original Moose Mouse was a heroic firefighting mouse.  He had many positive qualities and was always very encouraging to our little Zack.  Moose Mouse eventually moved on, but he has remained a fond memory and I'm happy to carry on his name.  
I hope you stick around for a while and find some inspiration or something that makes you smile!
 

Thursday, April 4, 2013

Project Run and Play Sew Along Week 2: The Chevron Challenge

Well, I barely finished this one on time given everything else that's been going on around here this week...
But, I had these great ideas and I couldn't let them just fizzle away.
This weeks challenge on Project Run and Play was to create a look using chevron.
I came up with a pair of pants that features a large scale chevron pattern in a turquoise ombre colorway.
I pieced together quilting cotton and a dark wash denim to make the chevron fabric.
The pants are lined with fabric from a super soft, old pillowcase and have a patch pocket with decorative stitching on one leg.
When I think of chevron, I always think of ric-rac and that's how the Ric-Rac Racer shirt was conceived.
I know ric-rac is not technically chevron, but it's sooo close.
The shirt is a store bought long sleeved t-shirt that I embellished with applique race cars, zooming ric-rac lines and bright colored button tires.
My favorite thing about the shirt are those glittery button tires.  Yes, boys like glitter too!
I'm really happy with how this look came out...it is just how I imagined it!
What do you think?
I hope you have a chance to check out all of the other PR&P sew along looks here.
And you can vote on Friday for your favorite All-Star look here.

Featured at:
The Train to Crazy

Linked up at: project run and play, the train to crazy, girl inspired, a happy mum, one artsy mama, happy go lucky, the grant life, becoming martha, five days five ways, bacon time with the hungry hungry hypo, the busy bee, tatertots and jello, it's overflowing, too much time on my hands, i heart nap time, it's so very cheri, skip to my lou, love grows wild, someday crafts

Related Posts Plugin for WordPress, Blogger...